Welcome to the NEW AT SU! Blog hop! We are a group of Stampin’ Up! demonstrators from around the world who are full of creative paper crafting ideas to share with you and get you crafting! Today we are showcasing Stampin' Up! Embossing Folders and techniques you can use to elevate or enhance your embossing.
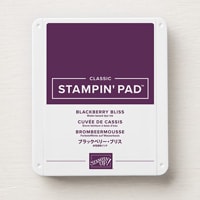
I took the Forever Plaid 3D Embossing Folder and a Stampin' Up! Classic Blackberry Ink Pad and started playing with ways to ink up the embossing folder. I wanted to use the side with the Stampin' Up! logo on it. With my 1st attempt I used a Blending Brush to add color to the embossing folder.
I added ink around the edges to the embossed Basic White Cardstock using the Blending Brush. While I liked this look it did not give me enough contrast. With my second attempt I added ink to the embossing folder with a Stampin' Brayer, then I scraped my ink pad over the embossed cardstock.
I really liked this one, but, felt it was too dark. So, my next attempt was to scrape my ink pad over the embossing folder diagonally. Still too dark. without inking the folder up again, I ran another piece of cardstock through and finally got what I was looking for.
The one on the top is the darker one and the one on the bottom left is the one I used for the card front. I trimmed it down to 3 3/4" x 5" (all of the Basic White Cardstock pieces were 4 1/4" x 5 1/2" to start with). I matted the plaid layer with Berry Burst Cardstock.
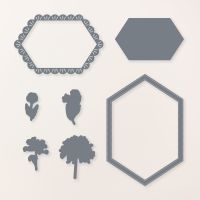
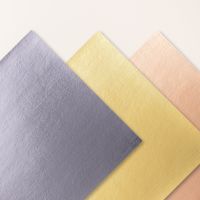
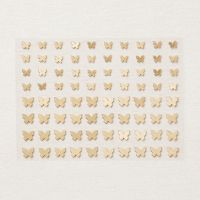
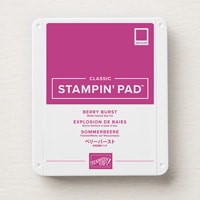
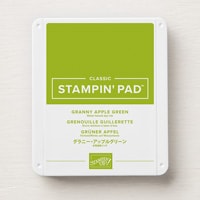
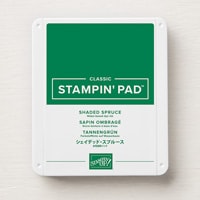
I stamped the flower cluster from the Regal Flora Stamp Set several times with Berry Burst and Blackberry Bliss inks. This is a Distinktive stamp set; it has a special texture that gives added depth and dimension in a single step, creating photo-realistic images. My ink pads were a little too juicy, so I added ink to the stamp with a Blending Brush. This turned out great I think. I used the same method on the leaf sprig. I added Granny Apple Green ink to the stem and lower part of the leaves & Shaded Spruce ink to the leaf tips and the bud branch. I used the coordinating Regal Flora Dies to die cut the flowers and the leaf sprigs. I used the Wildflower Designs Dies to cut the long hexagon shape from the Regal Winter Designer Series Paper (DSP). I adhered this to the plaid card front with Liquid Glue. The Berry Burst flowers are popped up with Stampin' Dimentionals on the DSP. I cut apart one of the Blackberry Bliss clusters and added 2 of them using Liquid Glue. I then added the leaf sprigs and then the Brushed Gold Foil leaf sprigs. The sentiment was stamped with Blackberry Bliss on Basic White Cardstock and then fussy cut with my scissors. I added a few Brushed Brass Butterflies too.
I hope you enjoyed my take on this month's Elevated Embossing theme. I can't wait to see what my fellow team members will share.
I Would Love To Be Your Demonstrator!
If you are In the United States and need a demonstrator,
then you can order from me by clicking on the links provided below.
(Many of the products I have used are sneak peeks from the 2024 Sep-Dec Mini Catalog,
coming Sept 4, 2024)
Thanks for Looking!
Product List






Love this idea and how you used a Blending Brush to help with the color.
ReplyDeleteIt is so nice to read about you experimenting, and then coming up with this beautiful card! ove how all the elements blend perfectly well!
ReplyDeletePlaid + flowers = Excellent card crafting!
ReplyDeleteThank you for sharing your trial and error process with the colouring. It's a gorgeous card - such rich colours.
ReplyDeleteIt's interesting to see the different looks you can get just by by the way you ink up the embossing folder. Love this with Regal Flora bundle as well. x
ReplyDelete