Welcome to the Stamping INKspiration Blog Hop!
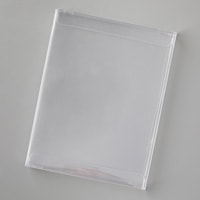
For this month's theme we have a Technique Challenge. Using marbles and dots of reinkers on a piece of window sheet that has been placed in a box. I used a clear acetate card box for this (you can see a video tutorial from Terri Gaines here).
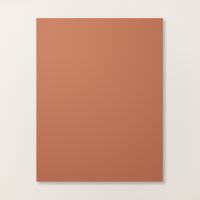
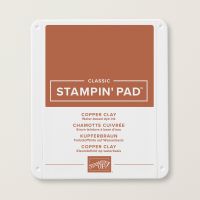
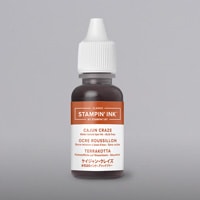
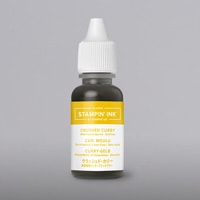
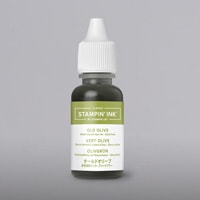
The last time I experimented with this technique was September of 2017. ReInkers can be used in so many fun ways. Rolling marbles through dots of ink can create some pretty fun backgrounds. I chose Cajun Craze, Crushed Curry & Old Olive Inks in my Acetate Card Box. I added 5 clear marbles, closed the lid and slid a 4 1/4" x 11" piece of Basic White Cardstock into the card box. Wiggled my box to get the marbles rolling. Then turned the box over and wiggled the marbles on the cardstock. I may have wiggled mine too much because my colors blended together and came out with a lovely shade of Copper Clay.
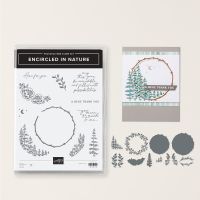
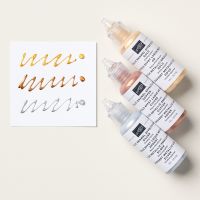
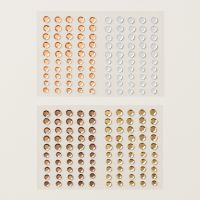
Then I cleaned the box out with running water, dried it with some paper towels and went at it again. This time I put drops of Copper Metallic Enamel Effects in the box with 3 marbles and wiggled some more. Now my box won't come clean anymore, because the Enamel Effects can not be cleaned off with soap and water. I was able to clean my marbles with hand sanitizer and a paper towel. once this was dry I cut this background down to 4" x 5 1/4". I die cut 2 sets of the oak leaves using the Encircled In Nature Dies, from the center of my marbled layer. Then I used that layer to mat the Splendid Autumn card front. The Happy Birthday sentiemnt came from the Unbounded Love Sentiment Stamp Set & the inside layer sentiment is from the Encircled In Nature Stamp Set. The bark ring and the foliage behind the oak leaves are die cut from watercolor paper using another marble technique and the dies are from the Encircled In Nature Dies. For this technique, after I ran the marbles around & through the ink drops I spritzed the ink with water. In my mind this was another Ink Smooshing technique which I like a lot. I finished this up with some Neutrals Adhesive-Backed Sequins and the Natural Tones Linen Thread.
I hope you enjoyed your stop here on my blog and found some inspiration too. Now I will send you on to your next blog hop stop. Have a wonderful day.
I Would Love To Be Your Demonstrator!
If you are In the United States and need a demonstrator,
then you can order from me by clicking on the links provided below.
Thanks for Looking!
Rebecca-Jo Unwin ● Karen Henderson







Interesting that you tried enamel effects with this technique, Jan. Lovely card. x
ReplyDeleteGreat card Jan, love that you added in the enamel effects x
ReplyDelete